Editing - Index your music


Music (part 2) - Index your music
In this lesson you will learn how to:
- Properly index your soundtrack, so you can easily use it in an edit.
Let’s assume you’ve already found some music which you like, and you’ve downloaded it and it’s sat in your timeline (if not, no worries you can do this later). Often there is an instrumental only version and a version with vocals on it. I nearly always opt for the instrumental version as the main track to use. But, in some cases I might want to have sections in the video where the vocals are used, sometimes there’s some “heyyyys!” or “yeahhh’s” or whatever, and I want to use those. In this lesson’s video, I’ll show you how we can easily switch between the two tracks. I’m going to do this in Premiere, but I’m sure there’s similar systems in other editing softwares.
- Nesting
So Nesting is basically when you can create a sort of ‘sub sequence’ inside another sequence. It’s much tidier than having a bunch of layers everywhere.
All you have to do is select your clips you’d like to Nest. In this case, the vocal and instrumental audio tracks, right click, and click Nest.
SHOW THE NESTING THING (SCREEN REC)
So by doing this, you can easily switch between the two tracks at certain sections without affecting the structure in your main edit at all. Nice!
2. Markers
So for those that don’t know, this squiggly line is called the waveform. Every sound that exists is made up of waves - I’m not going to get into that, but we call this in digital form, the waveform. But looking at this waveform, it’s quite hard to work with, where’s the chorus, where’s the good bit of the track I like… So the next thing I’d do is what I call “indexing the track”, it’s basically a process of adding markers, adding colour to sections, so you can easily see what you’re working with.
So in order to add markers, I need to explain a little about music theory.
Every song or piece of music has a beat that runs through it. The beat is what dictates the groove - just like if you were dancing to it. SHOW SOME EXAMPLES WITH A LAPTOP
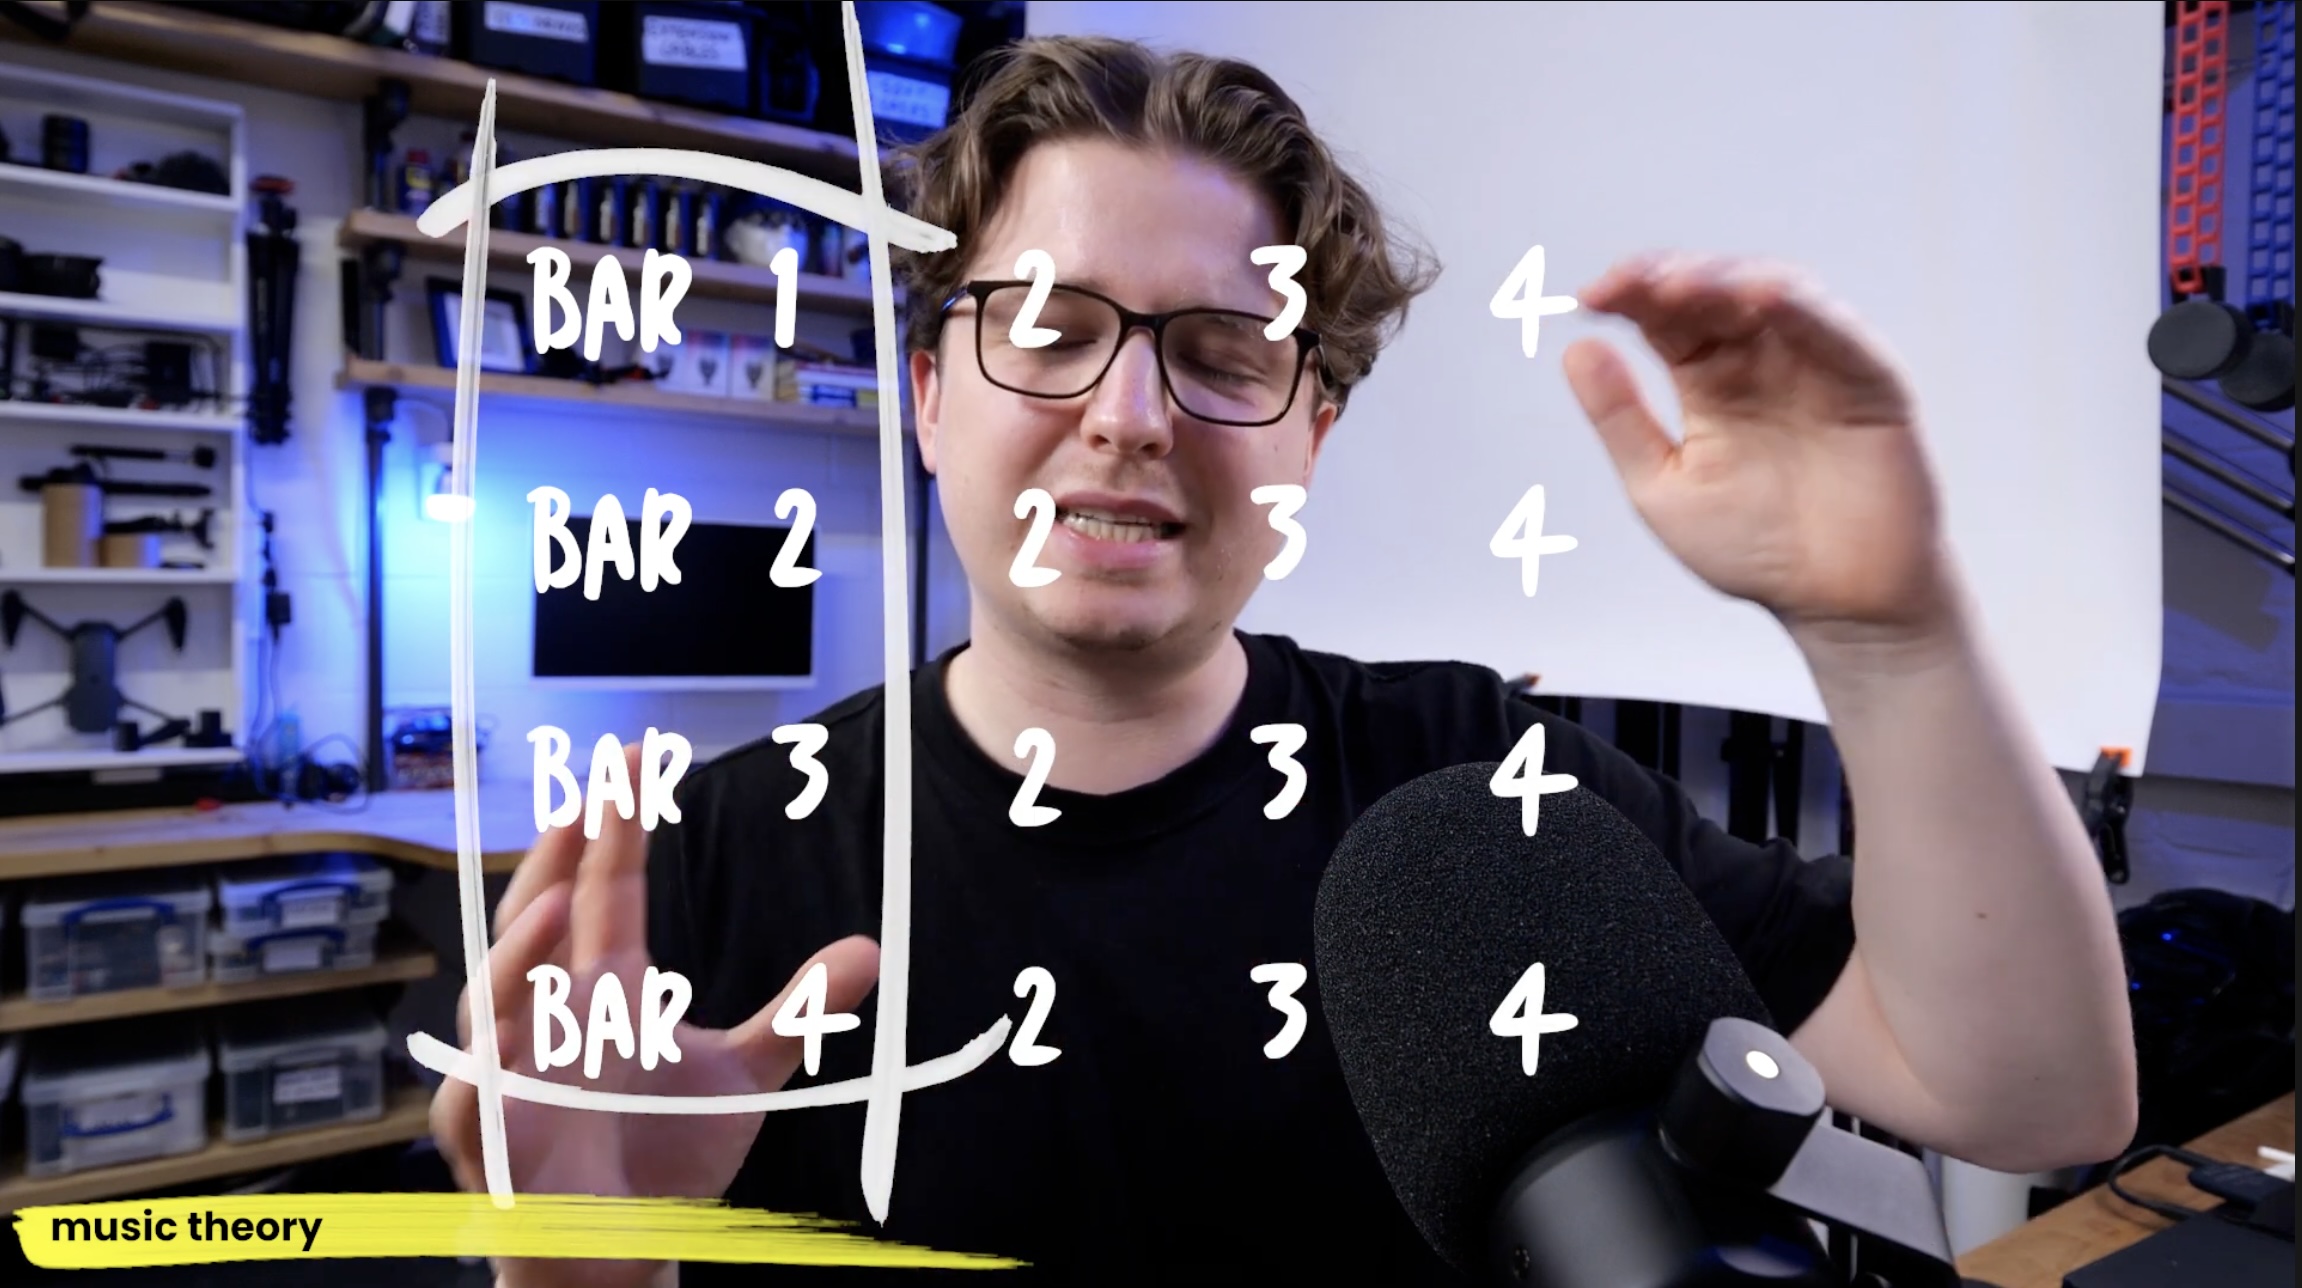
Ok so broadly speaking, most of the tracks you’ll come across will have 4 beats in a bar. So 1 2 3 4 / 1 2 3 4
A section whether it’s a verse, or a chorus section, could have 4, 8 , 16 , 32 bars in it. Really depends on the music.
SHOW EXAMPLE OF COUNTING TO TRACKS
- Mention Bridges
- Mention 3 / 4 timing.
- The start of a section is usually quite obvious, there’s a positive sound to it, there’s a firm beat, there could be a reverse cymbal leading into it.
It really just takes a lot of practice to get good at this, I’ve done this thousands of times.
So lets do this with the track I’m using for my edit.
On Premiere, if you have the track selected, you can hit M, to add a marker.
I’m going to continue adding markers, but also colour code as I go as well.
3. Colour coded
As I go along, I also colour code each section.. This takes a bit of practice, but if the track isn’t too fast, it is possible.
End up with something that looks like this.. Where you can easily see what we’re working with..
This process isn’t necessary in every edit I do. It’s more common if I’m doing a short form piece of content, or definitely if I’m making a product video for a client or something. Music theory is definitely something that’s really good to have an understanding of, so by all means, practice this process.
Next up, we’re going to start blocking out our edit.

0 Comments